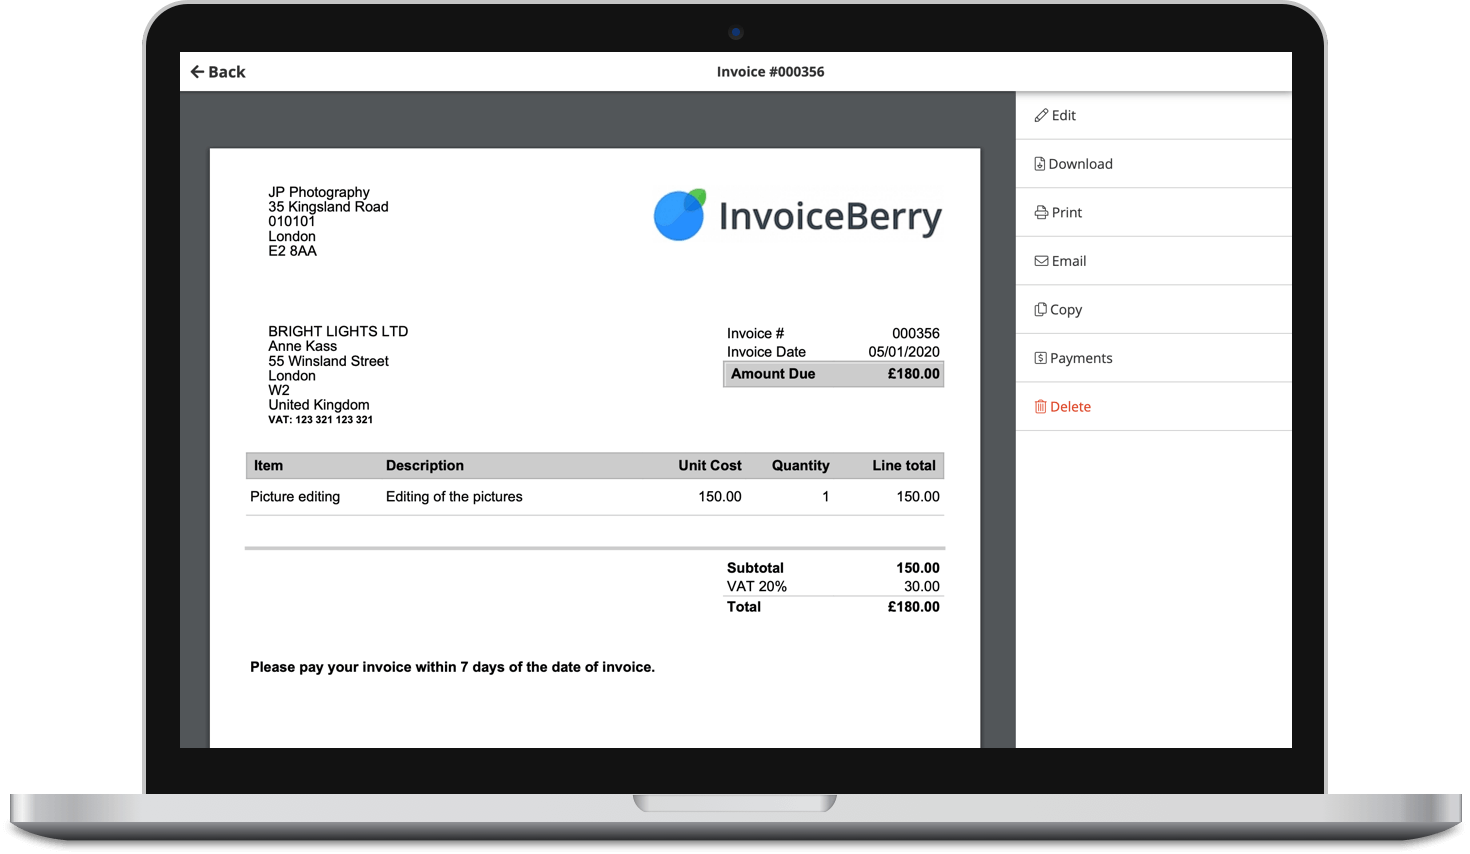
How To Automate Invoicing Process With InvoiceBerry
Written by Mindaugas on March 02, 2020
You have provided a service or a product to your client – great! It’s time for you to create and send an invoice. Invoicing after all, is at the core of accounting and making sure you get paid fast for a job well done.
There may come a time when clients ask for a service or a product you provide – repeatedly – like clock work. Your business is called upon in a predictable manner. Maybe you have arranged a long-term business relationship for which you’ll have to invoice on a weekly or a monthly basis. That’s where invoice automation comes into play!
Try our online invoicing software for free

Accept online payments with ease
Keep track of who's paid you
Start sending invoices
You have the ability to automate the entire invoice delivery process using invoicing InvoiceBerry. Schedule the dates or intervals for invoice creation and delivery and let the software handle the rest!
Here’s how it all works.
Recurring invoices – automate them!
Let’s say you’re operating a food catering business. You have a few clients that have monthly office parties – one office has a party on the last Friday of each month, the other office has a party on the last Monday of each month.
Instead of having to invoice each catering event manually, you can have invoicing software such as InvoiceBerry do all the work for you. Schedule each recurring payment to be automatically delivered to your client on the desired date. All you have to do now is wait for the invoice reimbursement to fall into your bank account.
Automate Invoicing Quickly
Process of invoice automation using InvoiceBerry is quite simple. Go ahead and log onto your InvoiceBerry account.

At the top – if you haven’t already – press Invoices. Here you will see the option to select Recurring Invoices bellow the main InvoiceBerry menu.

If this is your first time creating recurring / automated invoices, the Recurring Invoices list will be empty. Go ahead and press on New Recurring Profile at the top right.

You will now be directed to a blank invoice page.

Select the client you wish to create an automated invoice for. By pressing on the arrow near the Client field, you will notice a drop-down menu of all existing clients appear. If you need to add a new client, you can do so at this point.

Once you have selected the right client who will receive your recurring invoices, you will have to select the items for which you are invoicing.
You can add new items if you wish. If you run out of item spaces, press on Add Line to include more item lines. Keep in mind that in the Price field you need to include the unit price of an item. The total amount owed for all items will be calculated in the end.

Above is an example of how I chose to include an item into the invoice.
Scheduling Recurring Invoices

Something new you will notice during the invoice creation process is the Schedule function.
Here you can schedule automated recurring invoices to be delivered to your clients.

Start Date is when the invoicing time period begins.

Frequency lets you decide the interval of your invoices – how much time will pass between each recurring invoice.

End Date allows you to select the last day of your invoicing period. After this day, your client will no longer receive automated recurring invoices.
Applying Discounts
If you ever choose to apply some discounts – to your favorite clients for example – you can do so quite easily.

At the top right of the invoice sheet, you will see a Discount field. Here you can include a discount which will be applied to the client’s invoice total.

The discount field counts percentages. For example if you type in 10 – that’s 10%..
In the example illustrated above, I wrote 20 in the Discount field. The 20% was automatically calculated, and the discount was applied in the balance owed.
Payment terms
Include the payment terms / deadline by which the invoice needs to be paid in full.

Keep in mind that these are recurring invoices. This means that each invoice received by your client will need to be paid off in the amount of days you have specified here.
For example, let’s say you have bi-weekly invoices and you have entered 3 days in the Payment Terms. That means that your client will receive the invoice automatically in 2 weeks, and 3 days after the invoice has been delivered he or she will need to compensate you for your services.
The specified payment terms will apply to each subsequent invoice your client receives until the End Date.
Automate Invoice Delivery
Email is the quickest invoice delivery method. This is how you can make sure that your client receives their invoices quickly – and without the use of any paper.

On the main invoice sheet that we were filling out thus far, bellow the Schedule function, you will notice the Auto Send check box.
If you select this, your invoices will be delivered to your client’s specified email address automatically. This will continue to for each subsequent invoice.

You may include a personalized message to accompany each invoice that is automatically delivered by InvoiceBerry.
You’re DONE!
That’s it – your recurring invoice is all set up. Not to mention it’s an ecological way to begin delivering invoices to your clients without the use of any paper.

Press Save Profile and your invoice is logged into the list of all recurring invoices you have made thus far. Seeing as how you’re using this guide, it may very well be the only recurring invoice in yoyur the list.

Let Software Aid You
Although its an integral part of business operations, invoicing needs to be simple. There is no need for you to allot hours on delivering invoices and payment reminders – invoicing software can assist with that.
Good news is that we just introduced you to InvoiceBerry invoice automation functions. Now you can schedule invoices to be automatically delivered to your clients. Not to mention payment reminders can also be automated in the same fashion.
Don’t impede your business’ cash flow. Start using InvoiceBerry today to invoice clients quickly and effectively.
Small Business Finance 101
Download our free guide to learn the fundamentals of finance that will help make your small business more efficient and successful.
